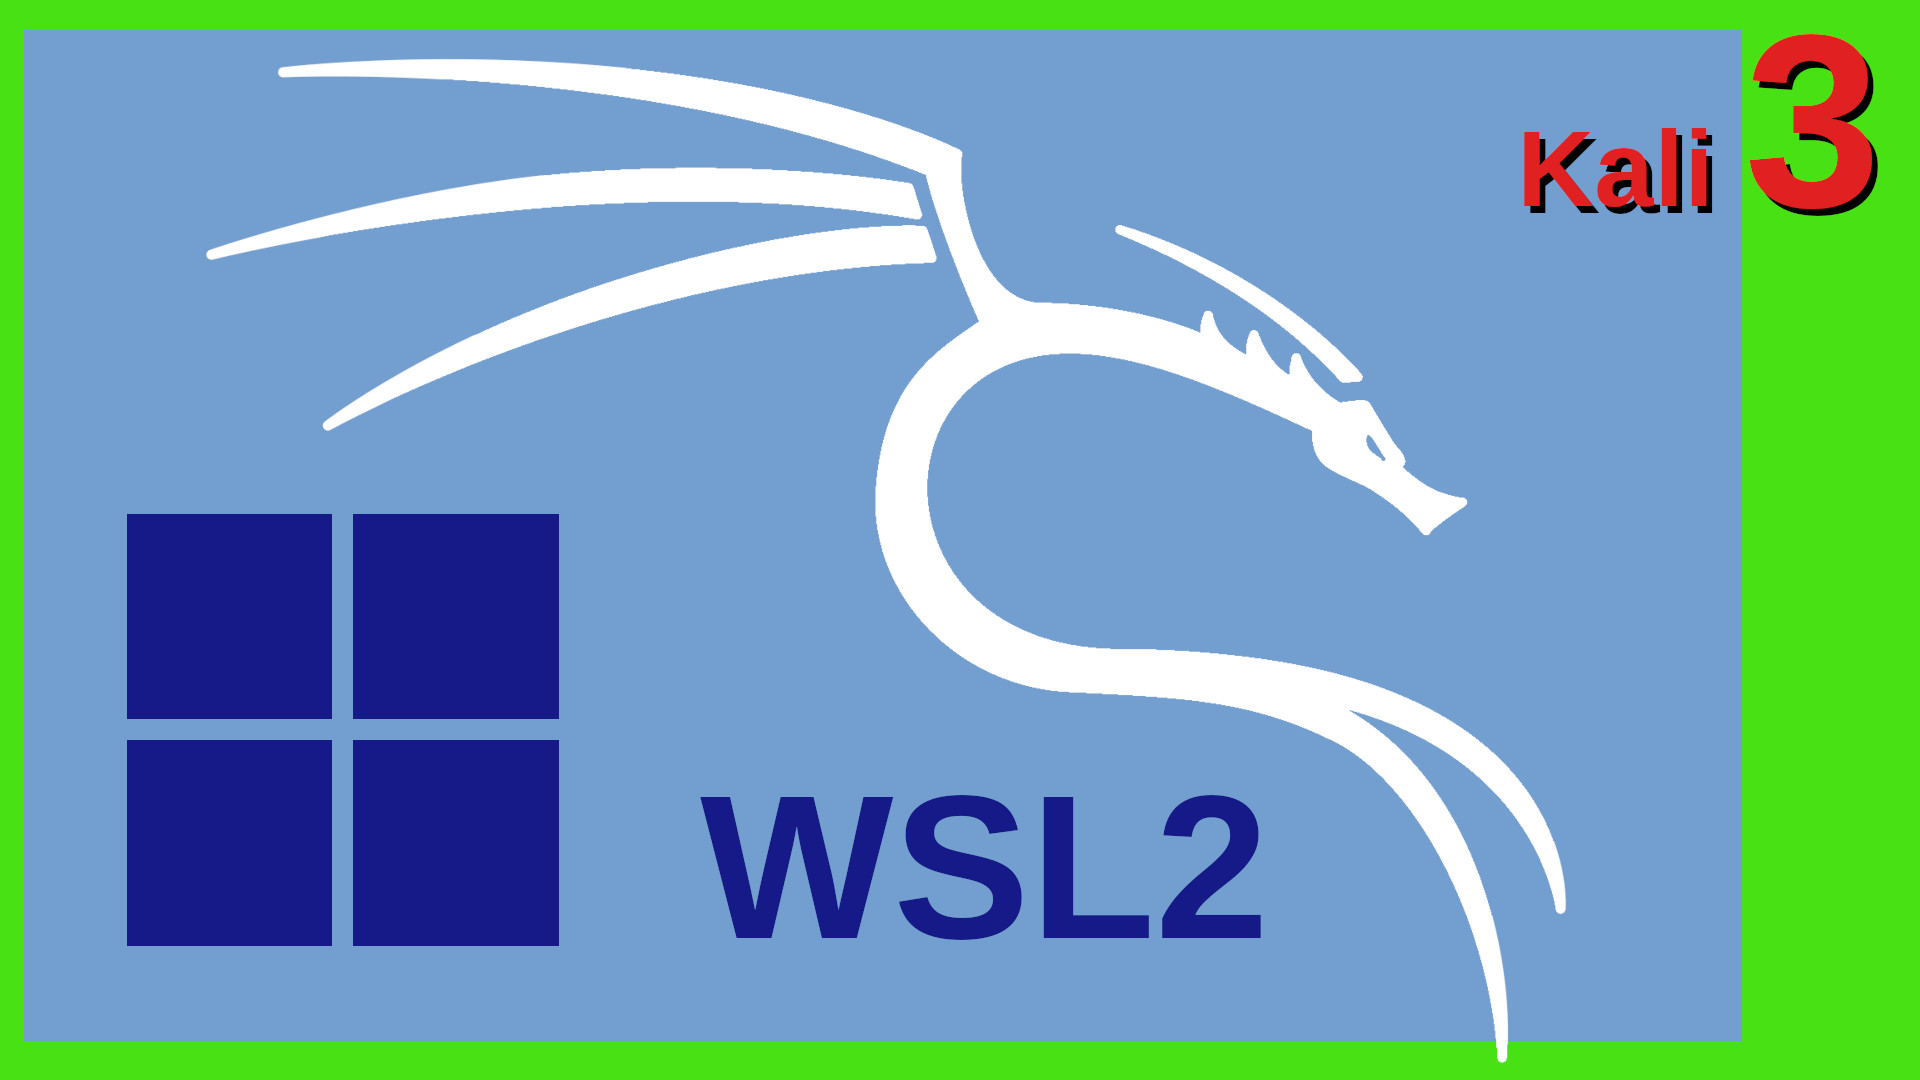
The Windows Subsystem for Linux
The Windows Subsystem for Linux or WSL2 allows you to run full Linux distributions under Windows. We will install Kali Linux in wsl2 and have a look at some options. Kex is using TigerVNC and is a nice solution, but there is an easier and more transparent way of using X11 apps in WSL2. In the video we will just launch the xfce4 panel inside WSL2 and show it on the Windows desktop. We will use the Hyper-V console to create a virtual switch and map it to the WSL2 container using the .wslconfig file. I’ll explain the X11 integration with Wayland, Weston, WSLG, FreeRDP and MSTSC. #kalilinux #wsl2
 Watch the video on YouTube
Click to view the entire transcript
Welcome back to the third Kali episode.
Let’s have a look at the Windows Subsystem
for Linux or WSL today.
There’s a bunch of videos on YouTube already
showing how to get WSL and how to run Kali
– or any other Linux of course – on a
Windows 10 or 11 Workstation.
But things have become much easier than in
the early days.
We’ll see this in a minute.
The interesting part for the Kali Linux user
however will be two things: First, a closer
look at the networking and second how to integrate
everything really seamlessly into the Windows
desktop.
Without any workarounds like kex or rdp or
vnc or the like.
Just like you can see it here on my screen
– I have the Kali menu bar on top of my
Windows desktop.
But first the installation.
Oh and – as I said in the last two videos
– this video is not about “hacking xyz
with Kali Linux” – I really think that
many of these videos are click bait.
People showing how to crack Wi-fi or passwords
with simplified setups that have nothing to
do with real-life scenarios.
If you want a real introduction into ethical
hacking then please check out the YoutTube
channel of Offensive Security or short OffSec
(they are the creators of Kali Linux).
The link is up here as well – You might
consider taking their courses or certifications.
They do have a discord server as well.
Also - check out this video by fellow Youtuber
Heath Adams – the cyber mentor.
It’s a 12 hours long course – but nicely
sliced into chapters.
Have a look – it’s really good.
Back to WSL2.
Installing WSL2 these days is as simple as
typing this command in a command shell or
Power shell: wsl –install and optionally
-d and the name of the distribution that you
want to run, for instance debian or ubuntu
or of course kali-linux.
You do not have to type any other power shell
commands or the like.
That’s gone.
Alternatively you can install debian or kali-linux
or ubuntu from the Microsoft app store.
Once installed you can list them with wsl
-l -v which will also show you the version
of wsl.
We will solely talk about version 2 in this
video.
What this will also do for you automatically
is that it enables two Windows features, namely
the Virtual Machine Platform and the Windows
Subsystem for Linux.
Launching a bash shell now is as simple as
typing wsl or bash or ubuntu or kali-linux.
That will all do the same: start WSL2 and
show a terminal running the bash.
From here you can now install all the software
that you want – let’s do this similar
to what we did in the first episode – I’ll
install kali-desktop-xfce4 and this time let’s
not use xrdp as a remote access protocol but
rather win-kex which is in fact TigerVNC with
a nice desktop integration.
We’ll have a look into another very nice
option for Windows 11 later in this video
where we will actually run only the menu bar
on the windows screen.
But let’s use kex for starters.
Once I type kex in the bash it will then ask
me for a connection password and also launch
the kex viewer where I can type that password
in.
Here we go.
Kali running on my Windows desktop.
Cool – so the first thing that I want to
draw your attention to is actually the network
setup.
I’ve briefly touched on this in the first
two episodes.
If we type ip -br addr in a terminal window
inside Kali then we can see this 172.
something address here.
And that might be quite surprising to you
because usually your PC probably has a 192.168.something
address right?
How come?
And what are the implications?
The secret is lifted if you go to the network
adapter properties on your Windows host.
In fact you can see your Ethernet and or Wifi
hardware here.
Plus – you may or may not see an additional
virtual network adapter called Hyper-V Virtual
adapter or the like.
If you can’t see that then type ipconfig
/all in a separate Windows shell and it should
show you that.
And actually the MAC address of that adapter
is identical to the MAC address inside WSL
which I can show with ip link.
The reason for this behavior is that WSL2
as such is running inside a virtual machine
based on hyper-V and that virtual machine
has that virtual network adapter attached
to it.
Network-wise it actually works as a NATed
network behind your host’s network interface.
Inside that VM the WSL distributions are running
as containers.
If you wanted to access the VM or an app running
inside Kali from the outside world then the
suggested Microsoft solution is to do a port
forwarding or Port proxy like they call it.
This needs to be done in Power shell.
Or – hot off the press – as of June 2022
you can actually bridge your physical adapter
on your host to WSL.
That would then behave as if the network was
physically attached directly to the container.
Here’s how to do it: You define a virtual
switch using either Power shell or the Hyper-V
console and then you add the following into
a file called .wslconfig into your C:\users\yourusername
directory on the windows host.
First you specify networkingMode = bridged
and then you specify the virtual switch saying
vmSwitch = Bridgename.
At the time of making this video this is only
available in the preview version but I’d
assume that this will go mainstream rather
sooner than later.
I’ll update the description of the video
or pin a comment to it.
At the moment though this seems to be work
in progress.
On a Windows 10 I can actually see two network
adapters eth0 and eth1, where eth1 is the
physical adapter.
I did not specify the .wslconfig file.
Also there is no Hyper-V switch on an external
adapter.
On Windows 11, using Hyper-V console I can
see the WSL switch and it does get assigned
an IPv6 address, but not IPv4.
I did specify bridged mode in the .wslconfig
though.
Guys, leave me a comment if you see similar
things.
If you want this to work as designed, then
as of June 2022 you need the Preview version
of WSL.
Browse to this URL.
That will open a Microsoft store instance
from where you can now install the preview
version.
Next you need to launch the Hyper-V Manager,
then click on virtual switch manager and create
a new external Virtual Switch.
I named mine WSL2.
Guys, I am not sure if you can actually do
that with the Home versions of Windows 10
or 11.
I don’t have a home version to test unfortunately.
Leave me a comment please.
Once you have created that switch and restarted
wsl by doing a wsl –shutdown and launching
it again, then you should see the physical
address if you type ip -br addr.
Also – now you can launch the tools that
need direct network access like I do here
with Wireshark – seems to be working, it’s
capturing packets at least.
So why would you want to use a physical adapter
rather than a virtual one ? After all, we
can access the internet with the virtual one,
can’t we ? Well yes, if you wanted to scan
your website for vulnerabilities with let’s
say metasploit then you can of course do that
with any adapter type.
But if you wanted to do stuff like I showed
in this video here like analyze network flows
of a different device using arp spoofing,
or if you wanted to analyze packets going
over a switch on a mirrored port then you
really need a physical adapter.
A little side note here – if you want to
try out Windows 11 on unsupported hardware
without TPM or secure boot or even run Windows
11 with Hyper-V in a VM running on Linux KVM/QEMU
or in Proxmox, then check out this post on
my blog.
You can actually do that.
It works.
You just need Proxmox 7 with a Kernel Version
5.15 or above.
Awesome.
That should shed some light on the network
aspects of WSL2.
Now let’s have a look at how we can nicely
integrate the Linux desktop into our Windows
environment.
Now – you might remember that I have spoken
about X11, the display manager and the window
manager in the first episode.
As an example I launched the xeyes application
over ssh and it would show up on my Linux
box but not if I did the same thing in Windows
10.
With Windows 11, things have changed a bit.
And they have changed for the good actually.
Let me show you this.
Here’s what happens when I launch xeyes
in a wsl bash shell on Windows 10.
It tells me it has no display.
Because I don’t have a Window Manager.
See what happens if I do the same thing on
Windows 11.
Tadaah – xeyes opens in a separate window.
So does Windows 11 have an integrated Window
manager such as xorg or xWayland ? Surprisingly
it does not.
What you see here is actually an instance
of mstsc.exe, the Microsoft Terminal Services
client.
You can see it here in the task manager.
When I shutdown wsl, it disappears and it
reappears when I restart it.
But wait – we don’t have xrdp running
as an endpoint inside WSL, do we ? No, we
don’t.
In order to understand this we need to have
a quick look at the wslg implementation on
Windows 11.
That subsystem actually runs inside the WSL
Virtual machine and has the following architecture
which we can find on the wslg Github site.
The core of this is a pimped implementation
of Weston.
Weston is a reference implementation of a
Wayland compositor.
Wayland in turn aims at being the successor
to the native X11 implementation.
Now I do not want to go too deep into the
tech details here but there’s actually a
couple of things that are important to know
for us.
Even though the Window manager, so Wayland
and Weston, are not running on Windows but
rather inside the WSL2 VM, Microsoft have
actually taught weston and their Terminal
Service Client a couple of new tricks.
You can see this FreeRDP running inside the
WSL VM.
MSTSC connects to that instance from the Windows
side and just displays the X11 or Wayland
app in a transparent way.
And it comes up automatically whenever we
launch a GUI app inside WSL.
That app would either connect to the X11 display
on that Xwayland process here or – if it
is a wayland app – connect to the wayland
socket of Weston.
How can we leverage that knowledge to actually
integrate our KALI linux menus nicely into
Windows without adding tools or overhead such
as xrdp, tiger vnc, kex, x2go – you name
any remote access tool ? After all, everything
is there – we just need to use it.
The thing is – if we would try to just launch
an xfce4 session for example in this bash
window by typing startxfce4 or xfce4-session
then I get an error saying that it has problems
accessing the wayland display.
Now – if we look at the environment variables
then we see this WAYLAND_DISPLAY setting here.
If I wanted xfce4 to go through the X11 display
then all I’d have to do is actually set
this variable to an empty value.
Like this.
If I now launch startxfce4 again, then the
session comes up.
It shows the xfce4 Menu panel and they do
contain all the Kali menu items.
But we get a lot of error messages here.
That’s mainly because a full session tries
to do a lot of things, such as provide communication
between the windows and processes, launch
audio and so on.
But honestly – I don’t really need all
that.
I just want that menu bar on top of my screen.
So let me interrupt this with Control C. If
we look at the screen layout of a typical
X desktop session then usually we have the
menu bar on top, we have a background on the
desktop and maybe additional items such as
widgets and panels etc.
And in X11 terms each one of those is a separate
window.
That means that the top panel that contains
the menu shortcuts is just a window that the
Wayland / Weston / RDP combination could show
on my desktop.
I can actually do that by just typing xfce4-panel.
And yes – we already get fewer errors but
the visible result is pretty much the same.
On the first launch the panel might show up
on a different screen or in the middle of
the screen – so what you can do is either
do a right click and select preferences here
or open a separate wsl shell and type xfce4-panel
-p.
That opens the properties window here where
I can actually do stuff like unlock the panel,
so that I could move it or select the display
and so on.
Once it has stored those parameters, it comes
up OK on the next launch.
Awesome.
Last but not least I would want this to happen
automatically if I start up wsl.
So what I can do is that I just add this line
to the .bashrc file in my home directory.
Kind of the poor man’s service autorun really.
But it does the trick.
I’ll set the Wayland display to an empty
value, launch xfce4-panel in the background
and I just pipe error messages to nirvana
so that I don’t see them.
Let’s test.
Wsl –shutdown, then start it again.
Takes a while.
Aaand – here we go.
Menu bar.
Beautiful.
I can launch all apps, the menu is just nicely
present – but otherwise I can work with
my Windows like I used to do before.
That’s really transparent.
Perfect.
Awesome!
Guys – that concludes today’s episode.
Please let me know if you liked it.
If so, a like on YouTube is much appreciated.
Please do leave me a comment on Youtube.
Many thanks for watching.
Stay safe, stay healthy.
Bye for now.